Understanding Vapor Barrier Installation
What is a Vapor Barrier?
A vapor barrier is a critical component in managing moisture levels within structures, particularly in crawl spaces and basements. It is essentially a barrier that helps prevent water vapors from penetrating walls and floors. Typically made from materials like polyethylene sheeting, vapor barriers are designed to inhibit the passage of moisture from the ground into the living space above. This creation of a controlled environment is essential for the longevity and integrity of homes.
Importance of Vapor Barrier Installation
The installation of a vapor barrier is vital for several reasons. First and foremost, it protects your home from moisture-related issues such as mold growth, wood rot, and structural damage. Excess moisture can lead to poor indoor air quality, which poses health risks and could lead to costly repairs. Furthermore, proper Vapor Barrier Installation enhances energy efficiency by minimizing humidity, making HVAC systems more effective and reducing overall energy costs.
Common Materials Used
Vapor barriers come in various materials, with polyethylene being the most common due to its great moisture resistance and affordability. Other materials include foil faced kraft paper, rubberized asphalt membranes, and spray foam. The choice of material often depends on specific environmental conditions, local building codes, and the intended purpose of the barrier.
Preparing for Vapor Barrier Installation
Assessing Your Crawl Space
Before installation begins, it’s important to conduct a thorough assessment of your crawl space. Check for signs of moisture intrusion, existing damages, and the overall condition of the area. Look for puddles, wetness in walls, or musty odors. Understanding the environment allows you to choose the right materials and plan your installation effectively.
Necessary Tools and Equipment
Prior to installation, gather the necessary tools and equipment. Basic tools include a utility knife for cutting the vapor barrier, heavy-duty scissors, measuring tape, a hammer, and staples for securing the barrier to wooden structures. Additionally, you may require a seaming tape or adhesive specifically designed for vapor barriers to ensure effective sealing between joints.
Safety Precautions to Take
Safety is paramount during installation. Always wear protective gear, including gloves, a dust mask, and goggles to shield yourself from potential irritants. Ensure proper ventilation in the crawl space to mitigate volatile organic compounds (VOCs) that might be present. It’s also essential to be cautious of sharp objects and to clear the area of any debris before beginning work.
Step-by-Step Guide to Vapor Barrier Installation
Measuring and Cutting the Barrier
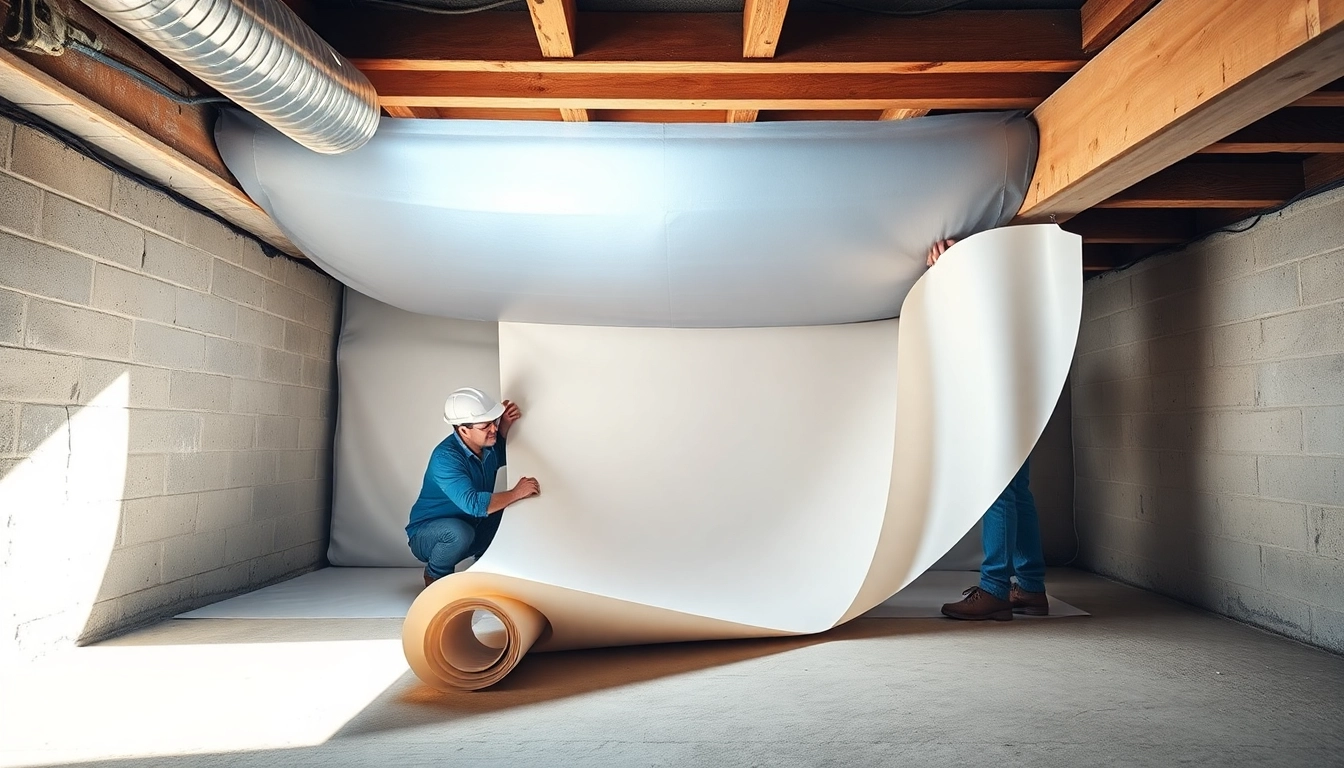
The first step in the actual installation is to measure the crawl space. Measure the length and width of the area accurately. Once you have these dimensions, roll out the polyethylene sheeting and cut it to the required size, allowing a few extra feet for overlaps. Ensure that your cuts are straight and that the barrier is laid out flat to avoid creases.
Securing the Barrier Properly
With the barrier cut to size, proceed to lay it across the entire area of the crawl space. It’s essential to secure it to the walls and any supporting beams. Use heavy-duty staples or adhesive to fasten the edges firmly to the ground or walls, ensuring there are no gaps where moisture could infiltrate. Be attentive to the overlaps; they should be at least 12 inches to ensure maximum coverage.
Sealing Joints and Edges
After securing the barrier, the next step is to seal all joints and edges thoroughly. Use a specific vapor barrier tape to seal seams where two pieces meet. This step is crucial as it prevents moisture from seeping through the joints. Make sure that all edges adhering to the walls are also taped well to maintain an airtight seal.
Maintenance Tips for Your Vapor Barrier
Regular Inspections to Conduct
Regular maintenance is key to ensuring the effectiveness of your installed vapor barrier. Conduct inspections at least once a year to check for signs of wear, damage, or any breaches. Look for mold growth, pooling water, and cosmetic changes in surrounding areas. Early detection of issues allows for quicker and less costly repairs.
Signs of Wear and Tear
Be vigilant for signs indicating that your vapor barrier may need repair or replacement. These include noticeable tears, water stains on the barrier, or areas where the barrier has detached from walls or flooring. If moisture is still present in the area despite the barrier installation, it’s crucial to assess and possibly upgrade the material or installation method used.
How to Repair Common Issues
If you detect a minor tear in your vapor barrier, it can typically be repaired with vapor barrier tape. For larger issues, you may need to cut out the damaged section and replace it with a new piece of polyethylene sheeting, ensuring to reseal all joints as outlined in the original installation. Consistent maintenance and timely repairs can prolong the life of your vapor barrier significantly.
Frequently Asked Questions About Vapor Barrier Installation
What is the best material for a vapor barrier?
The best material for a vapor barrier is polyethylene, specifically 6-mil thickness or thicker, as it offers effective moisture resistance and durability for most residential applications.
Can you install a vapor barrier yourself?
Yes, vapor barrier installation can be a DIY task if you’re comfortable working in crawl spaces and have basic tools. However, professional installation can ensure optimal results and compliance with local codes.
How long does a vapor barrier last?
With proper installation and maintenance, a vapor barrier can last more than 20 years. Regular inspections can help identify issues before they escalate.
Should a vapor barrier be installed in every crawl space?
Most crawl spaces benefit from a vapor barrier due to moisture control, except in extremely dry regions. It’s essential to assess your specific situation and climate before deciding.
What happens if a vapor barrier is not installed?
Failing to install a vapor barrier can lead to increased humidity, mold growth, wood rot, and compromised structural integrity over time. This can result in costly repairs and health hazards.